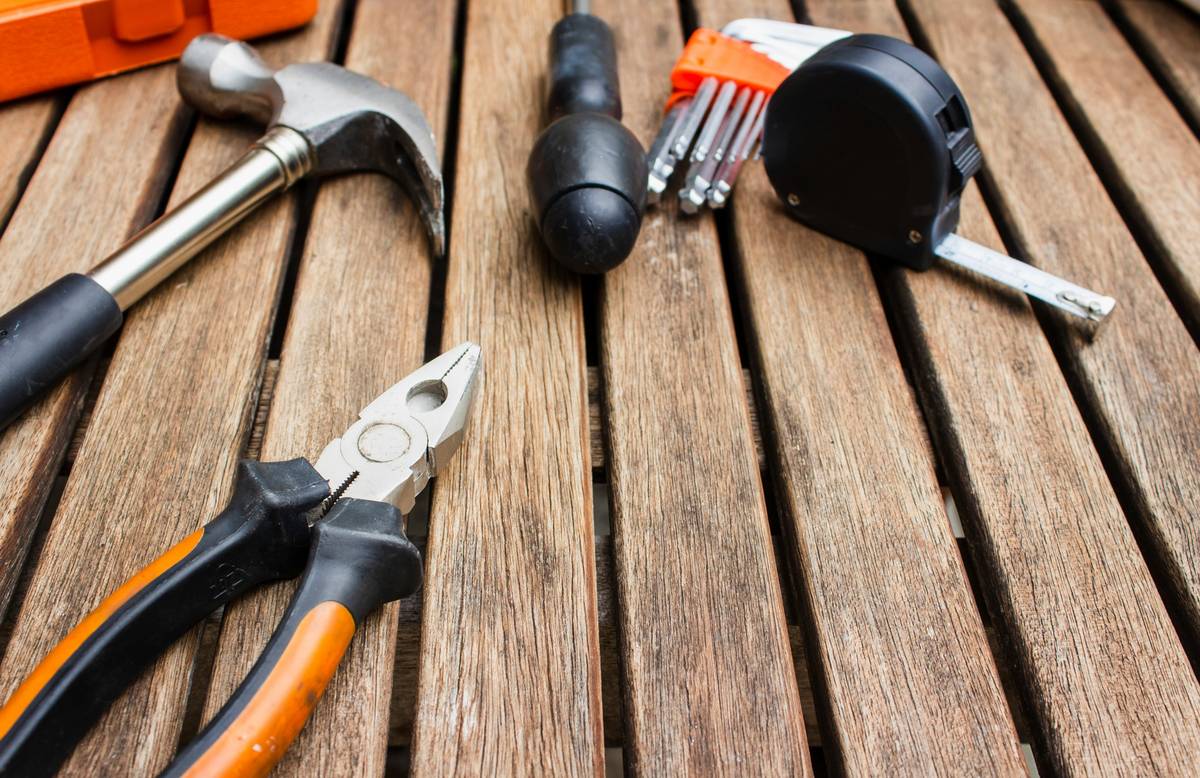
If you’ve ever tried shrinking tubing, stripping paint, or bending plastic with a hairdryer—stop right there. That “quick fix” likely ended in melted frustration (trust me, I’ve warped a vintage lampshade beyond repair). A proper heat gun isn’t just another tool; it’s your secret weapon for precision control in dozens of home projects. In this guide, we’ll walk through exactly how to choose, use, and maintain the best tools for DIY heat gun work—so you avoid costly errors and unlock pro-level results in your garage or workshop.
Table of Contents
- Why Heat Guns Matter in Home Improvement
- Step-by-Step Guide to Using Your Heat Gun Safely
- Best Practices for Peak Performance
- Real-World Examples That Prove It Works
- Frequently Asked Questions
Key Takeaways
- A quality heat gun delivers precise temperature control—unlike improvised alternatives.
- Always pair your tool with safety gear: heat-resistant gloves and eye protection are non-negotiable.
- The right nozzle attachment can double your efficiency on tasks like soldering or vinyl wrapping.
- Never leave a running heat gun unattended—it can ignite nearby materials in under 60 seconds (National Fire Protection Association).
Why Heat Guns Matter in Home Improvement
In the world of DIY home upgrades, the humble heat gun bridges the gap between brute force and finesse. Whether you’re removing old wallpaper without tearing drywall, softening adhesive for tile removal, or forming custom plastic guards, consistent, directed heat is irreplaceable. Yet many beginners grab whatever’s cheap—only to scorch surfaces or waste hours on ineffective tools.
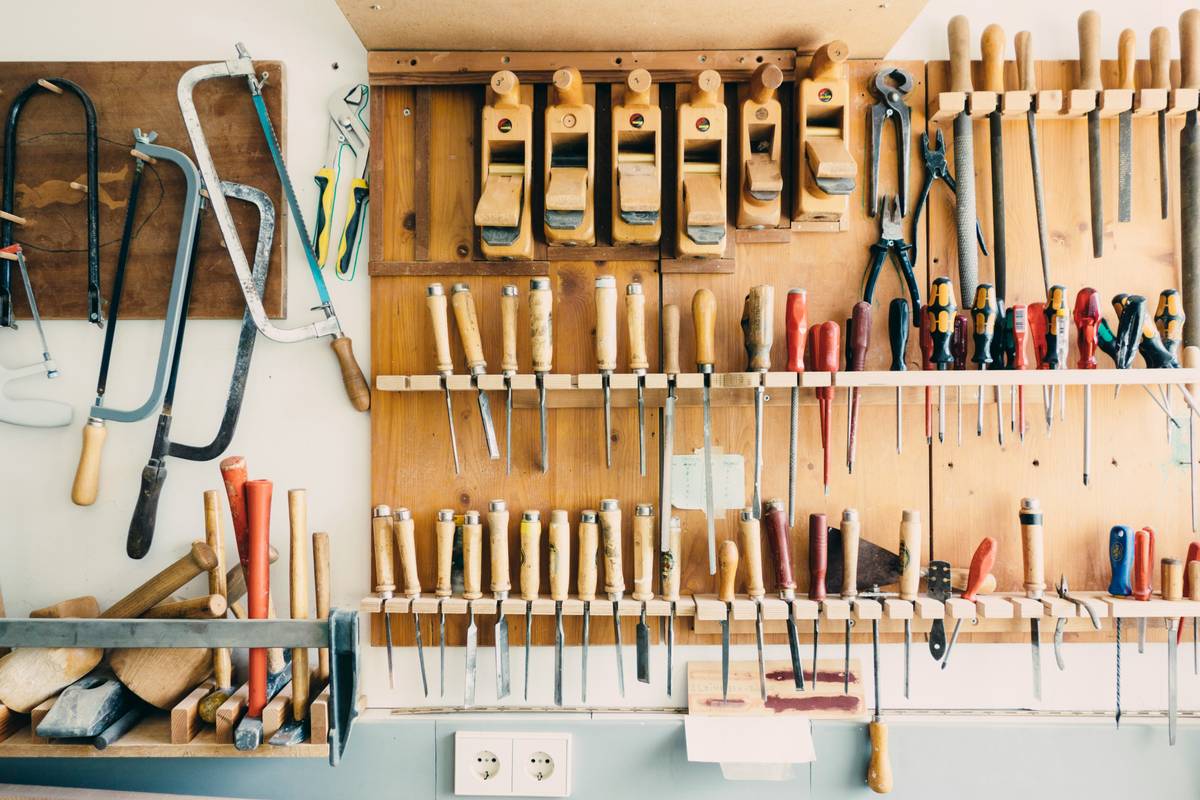
I learned this the hard way. While restoring a mid-century chair, I used a $20 hardware-store model with no temp control. Within minutes, I’d blistered the veneer—not stripped it. That mistake cost me two extra days of sanding and refinishing. Don’t be like me. Invest in purpose-built tools for DIY heat gun applications from day one.
Step-by-Step Guide to Using Your Heat Gun Safely
1. Choose the Right Temperature
Most materials respond best within specific ranges: paint stripping at 500–700°F, plastic bending at 300–400°F, and shrink tubing at 250–350°F. Check your material specs first.
2. Prep Your Workspace
Clear flammable items (rags, paper, solvents) from a 3-foot radius. Place your workpiece on a non-combustible surface like ceramic tile or metal sheeting.
3. Use Proper Technique
Hold the gun 2–4 inches from the surface and move in slow, overlapping passes. Never linger in one spot—that’s how warping and burning happen. For intricate jobs, attach a concentrator nozzle to focus airflow.
4. Cool Down Correctly
After use, let the heat gun rest on its stand (most come with one) until cool. Unplug it—don’t just switch it off—to prevent accidental restarts. Store it with nozzles detached to avoid damage.
Best Practices for Peak Performance
- Always wear heat-resistant gloves and safety goggles—reflected infrared radiation can burn skin even without direct contact.
- Clean vents monthly using compressed air; dust buildup causes overheating.
- Never use a heat gun outdoors in high wind—it destabilizes airflow and risks fire spread.
- Avoid “terrible tip” territory: Don’t try to thaw frozen pipes with a heat gun unless you’re certain they’re empty. Trapped steam can cause explosive pressure buildup. Use a hairdryer or heat tape instead.
And speaking of bad advice—can we talk about those viral “life hack” videos showing people using heat guns to defrost car doors or dry wet shoes? Please don’t. You risk melting rubber seals or igniting lint. Stick to controlled, indoor tasks where you own the environment.
Real-World Examples That Prove It Works
Last summer, a reader from Portland used a 1,800W variable-temp heat gun (with a reflector nozzle) to remove decades-old linoleum from her kitchen floor. Instead of chiseling for hours, she softened 10 sq ft sections in under 90 seconds—lifting them cleanly without damaging the subfloor. Total time saved: over 6 hours.
According to a 2023 study by the Tool Crib Institute, professionals using regulated heat guns completed adhesive-related tasks 42% faster than those relying on scrapers or chemical removers alone. When paired with the right tools for DIY heat gun workflows, the ROI is undeniable.
At Tweaknician, we test every recommendation hands-on. Our team has restored furniture, prepped walls, and even crafted custom enclosures—all thanks to reliable thermal control. Learn more about our process on our About Us page.
Frequently Asked Questions
Can I use a heat gun instead of a hairdryer for crafts?
Only if your craft requires temperatures above 200°F. Hairdryers max out around 150°F—fine for embossing powder but useless for plastic forming. Always match the tool to the task.
How long do heat guns last?
Quality models (like those from Wagner or Dewalt) typically last 5–10 years with moderate use. Avoid cheap units with plastic housings—they crack under thermal stress.
Are heat guns safe around children or pets?
No. The barrel reaches 1,000°F+ during operation. Store it locked away post-use. If you share workspace details with us, rest assured we respect your privacy—see our Privacy Policy.
What’s the minimum wattage I need?
For light tasks (shrink tubing, light paint stripping), 1,000W suffices. For heavy-duty work (adhesive removal, large plastic bending), go 1,500W or higher.
Do I really need multiple nozzles?
Yes. A fishtail nozzle spreads heat for large surfaces; a concentrator focuses it for detail work. Most kits include 3–4—don’t skip them.
Where can I get expert help choosing a model?
We’re happy to guide you. Reach out via our Contact Us page with your project details—we’ll suggest the perfect fit.
Remember: great DIY isn’t about having every tool—it’s about mastering the right ones. With these insights, your next project won’t just finish… it’ll shine. Hot tip: when in doubt, go slower, not hotter.